Corda is an open-source platform for the development and deployment of distributed multi-party applications.

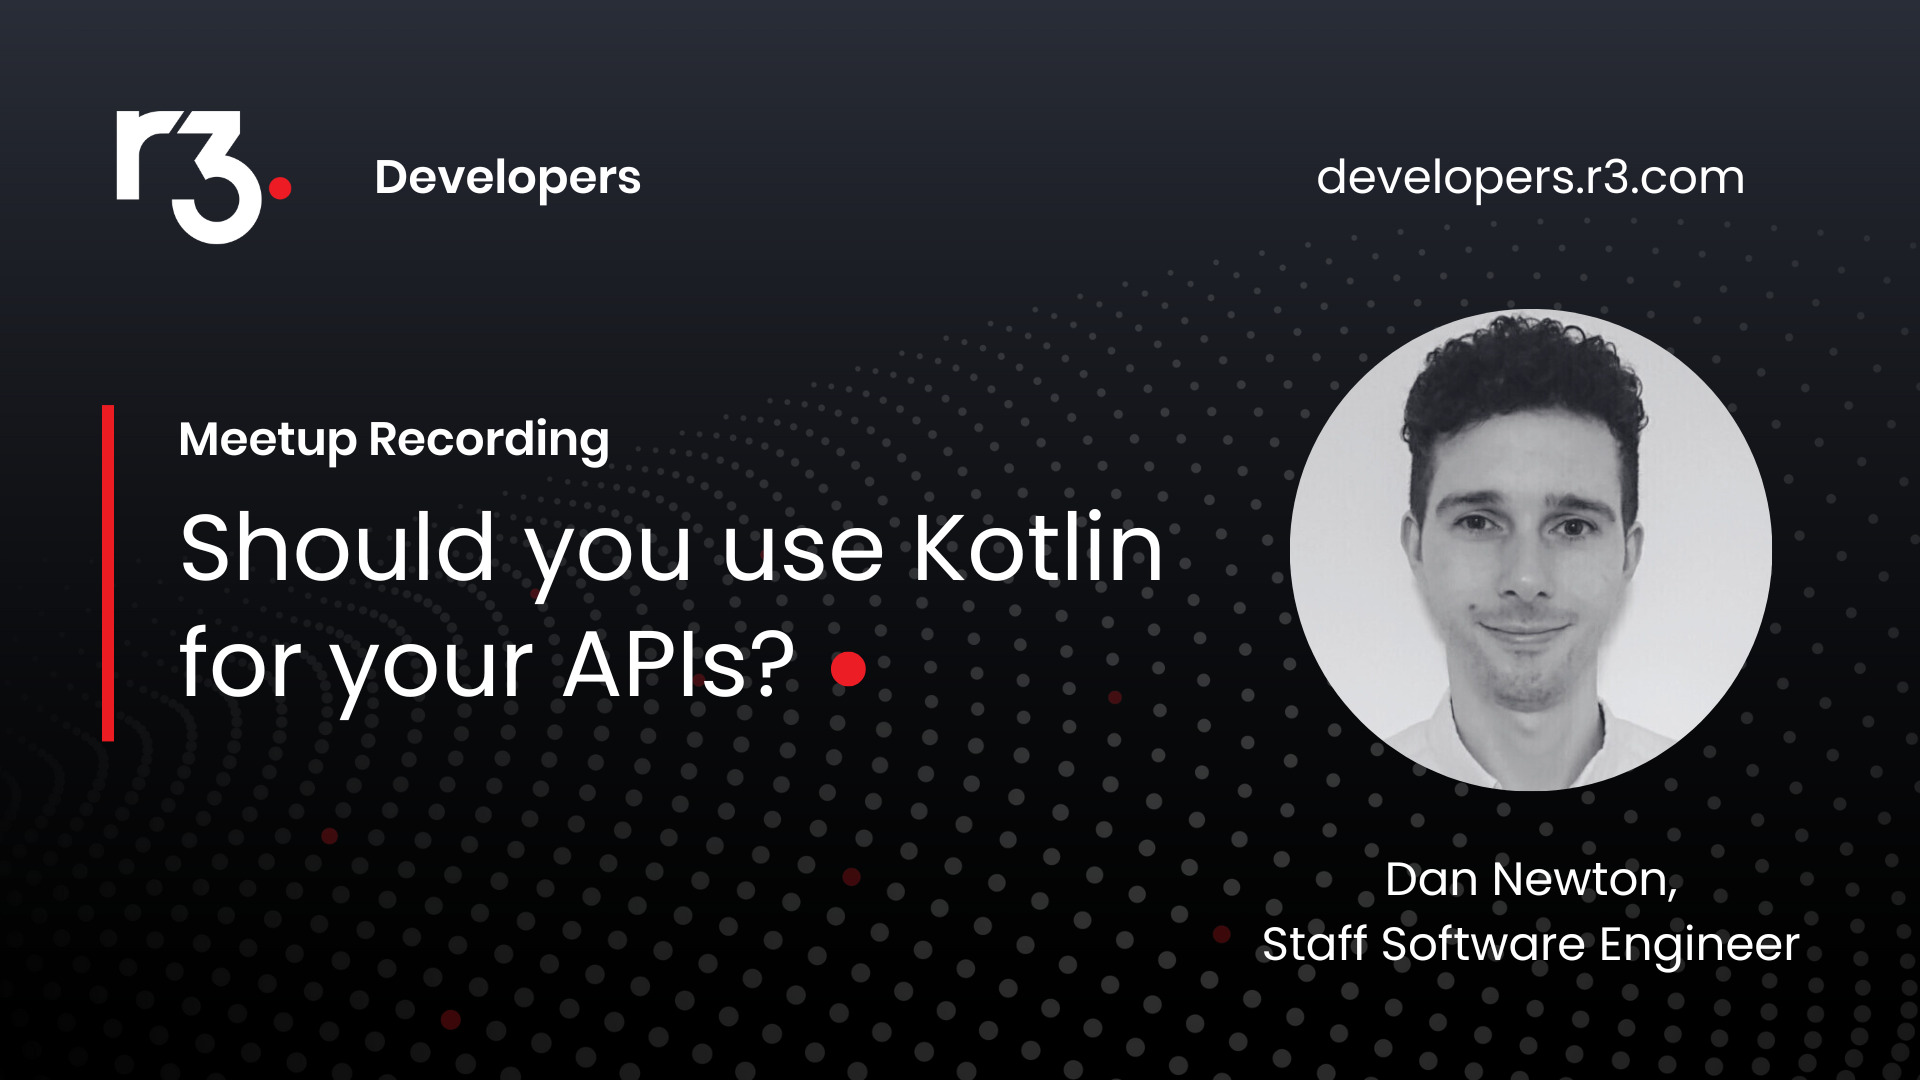
Kotlin Meetup • May 15, 2023 • 28:32 • By Dan Newton
Should you use Kotlin for your APIs?
In this recording, Dan Newton, Staff Software Engineer at R3, is answering the question if you should you use Kotlin for your APIs when targeting JVM applications. Learn about the advantages of Kotlin over Java for APIs and its limitations as well as why R3 cares about the answer.
What’s new at R3 Developers
Developer highlights
Latest blog posts
Upcoming event
There are no upcoming events at this time. Check back soon.
Featured videos
Kotlin Meetup • May 15, 2023 • 28:32 • By Dan Newton
Should you use Kotlin for your APIs?
In this recording, Dan Newton, Staff Software Engineer at R3, is answering the question if you should you use Kotlin for your APIs when targeting JVM applications. Learn about the advantages of Kotlin over Java for APIs and its limitations as well as why R3 cares about the answer.
Next-Gen Corda Video • May 10, 2023 • 13:31 • By Sneha Damle
Next-Gen Corda 101 Part 2 - Developing a CorDapp
In the second part of Next-Gen Corda 101 we will demonstrate how to run a simple Next-Gen CorDapp. For this demo, we will use CSDE (CorDapp Standard Development Environment) which makes the process of prototyping CorDapps more straight-forward. We will deploy a local Corda Cluster with combined worker. We will also build a Corda Package (CPK), Corda Package Bundle (CPB), and Corda Package Installer (CPI) file. We will then install a CPI on the Corda Cluster. We will also create a virtual node and register it with the Membership Group Manager (MGM). Finally, we will run a flow and print the output.
Join the R3 Developers ecosystem to obtain tips to build digital financial solutions, exclusive access to free material, discounts, and much more!
Grow your skills and connect with developers who share same interests
Connect with us
Interact on Slack
Daniela Bentrup
#announcements • 2023-07-25 12:48:41
:corda-icon:Next-Gen Corda is now generally available:corda-icon: We are thrilled to announce the general availability of the next generation of Corda. To access and download the Corda artifacts today, visit https://developer.r3.com/next-gen-corda/#get-corda|the developer portal.
To learn more about the whole journey of developing the next generation of Corda, its features and capabilities, and what is coming next, check out R3 Principal Software Engineer Dries Samyn's article: https://corda.net/blog/next-gen-corda-is-here/
Free resources
Great selection of eBooks waiting to be discovered. All free and available in PDF.

Hands-on learning
Discover our open source projects, top CorDapps, and code samples.


